
Cleaning Out the Refrigerator
As an Amazon Associate I earn from qualifying purchases. For more details, please see our disclosure policy.
Cleaning out the refrigerator is a necessary part of life. Here’s how to do a fridge tidy the easy way.
Want to save this post?
Enter your email below and get it sent straight to your inbox. Plus, I’ll send you time- and money-saving tips every week!
It’s a dirty job. But, somebody’s got to do it. And if I don’t miss my guess, that somebody could be you.
Never fear! FishMama is here with an 8 Step Program Toward a Cleaner, Happier Refrigerator. And believe me, I speak from experience….
Prior to our recent vacation, I did a major refrigerator overhaul and I was so glad that I did. We had been battling illnesses for the first three weeks of September.
Dimished appetites resulted in a lot of little leftovers and a tired mama contributed to a very messy fridge. Definitely not something you want to come home to after vacation.
But, it doesn’t take illness and fatigue to wreck havoc on your fridge. Just the business of life can get ya. So, ready to get cleaning? Let’s go.
But first a note from my legal team: I am not a medical or nutritional professional nor do I work for the US Department of Agriculture or the food police. If you know better, then do it your way. I make no promises that mine is the best way. 😉
1. Empty
Empty the refrigerator of all its contents. Really. It will be okay.
This presupposes that you have a clean sink and clean counters. (Sorry, babe, but its true.) Remove everything from the shelves, from the door, from the drawer, from the little storage nooks and crannies.
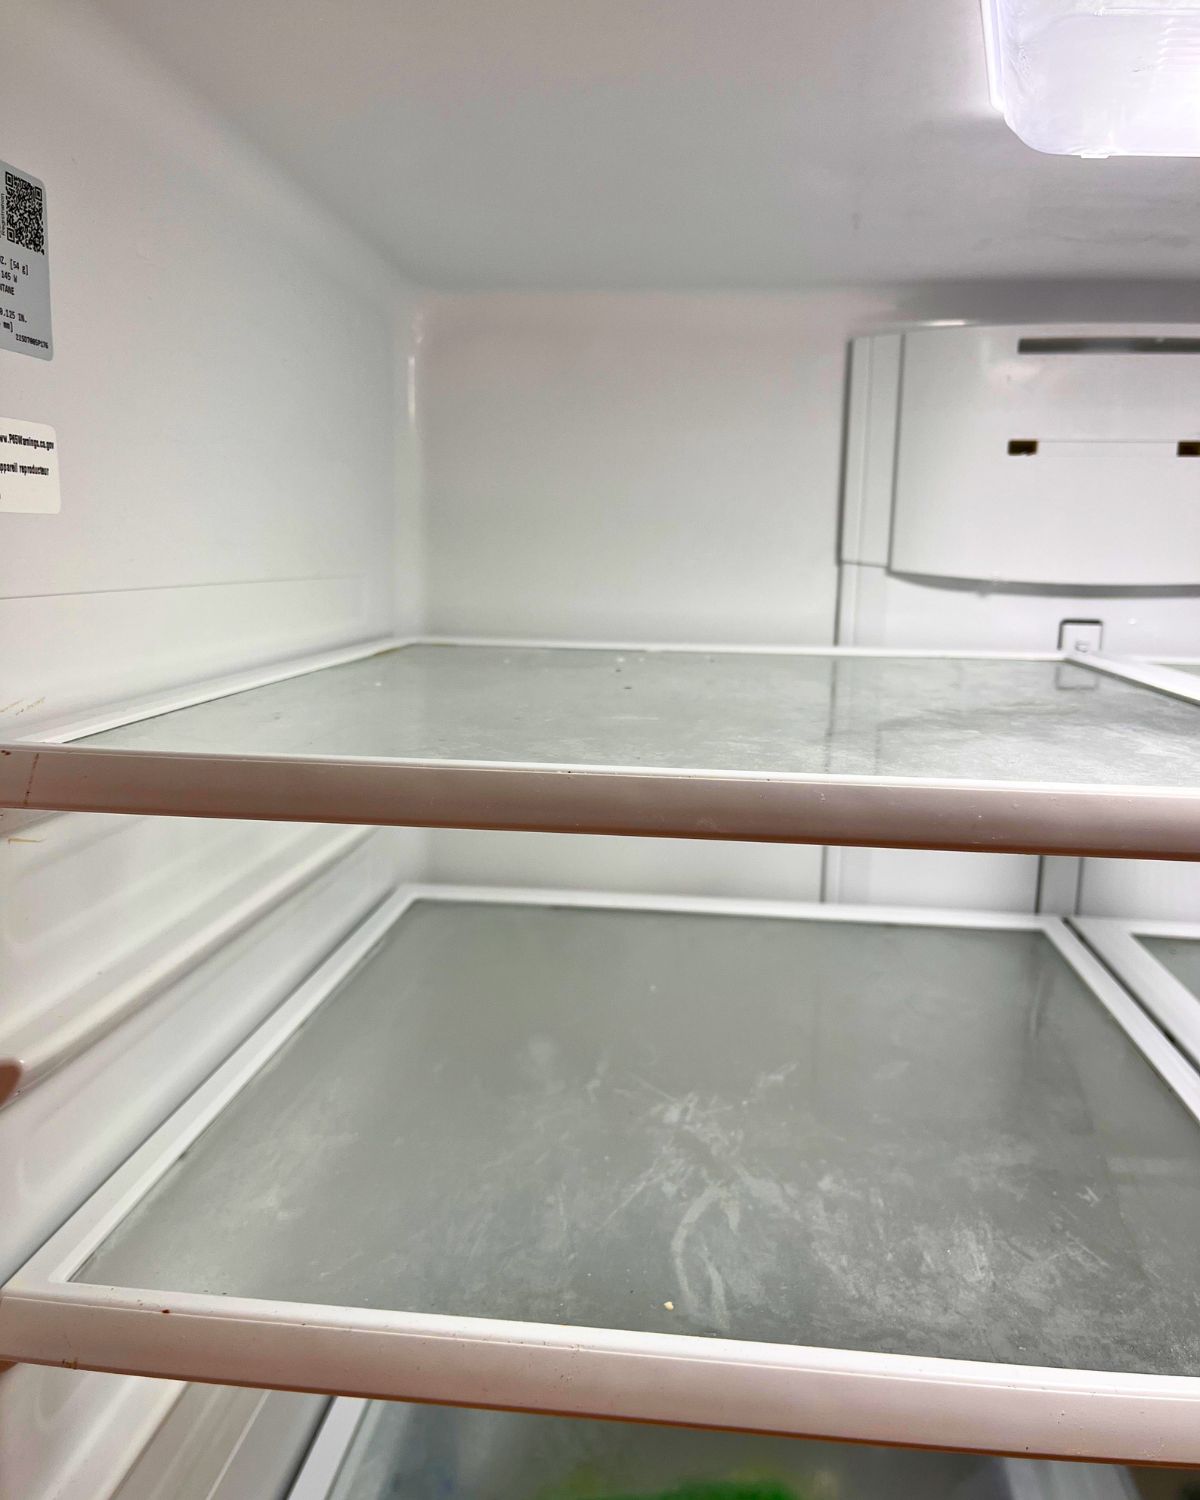
2. Wipe and Wash
Once the fridge is empty, wipe every shelf, removing them if necessary. I took out all the drawers and door inserts and washed those with warm, soapy water, as directed by my refrigerator’s manufacturer. I’ve also read that baking soda and water is a good refrigerator cleaner.

3. Purge
Throw away any leftover food that is older than three days or wasn’t all that great the first time. It’s not going to improve with age.
Scan your condiments. If you haven’t used it in the last couple months and don’t foresee using it anytime soon, give it the “heave ho” and make a note not to buy it again if you really won’t use it in a timely fashion. I ditched old BBQ sauce and peanut butter that my daughter is allergic to. I also said farewell to ethnic condiments that just don’t fit our tastes, but which we were willing to try once upon a time.
4. Rinse, load, and run
Remember all those leftovers? Well, if there were beakers of science experiments containers that need to be washed, rinse those. Load them into the dishwasher and get it going. I have to confess after several weeks of illness in our house, I had a lot of dishes to wash. (Yikes!)
And, no, that wasn’t all from the fridge. I cleaned it right after dinner so I could add the dishes to the dinnertime cycle.
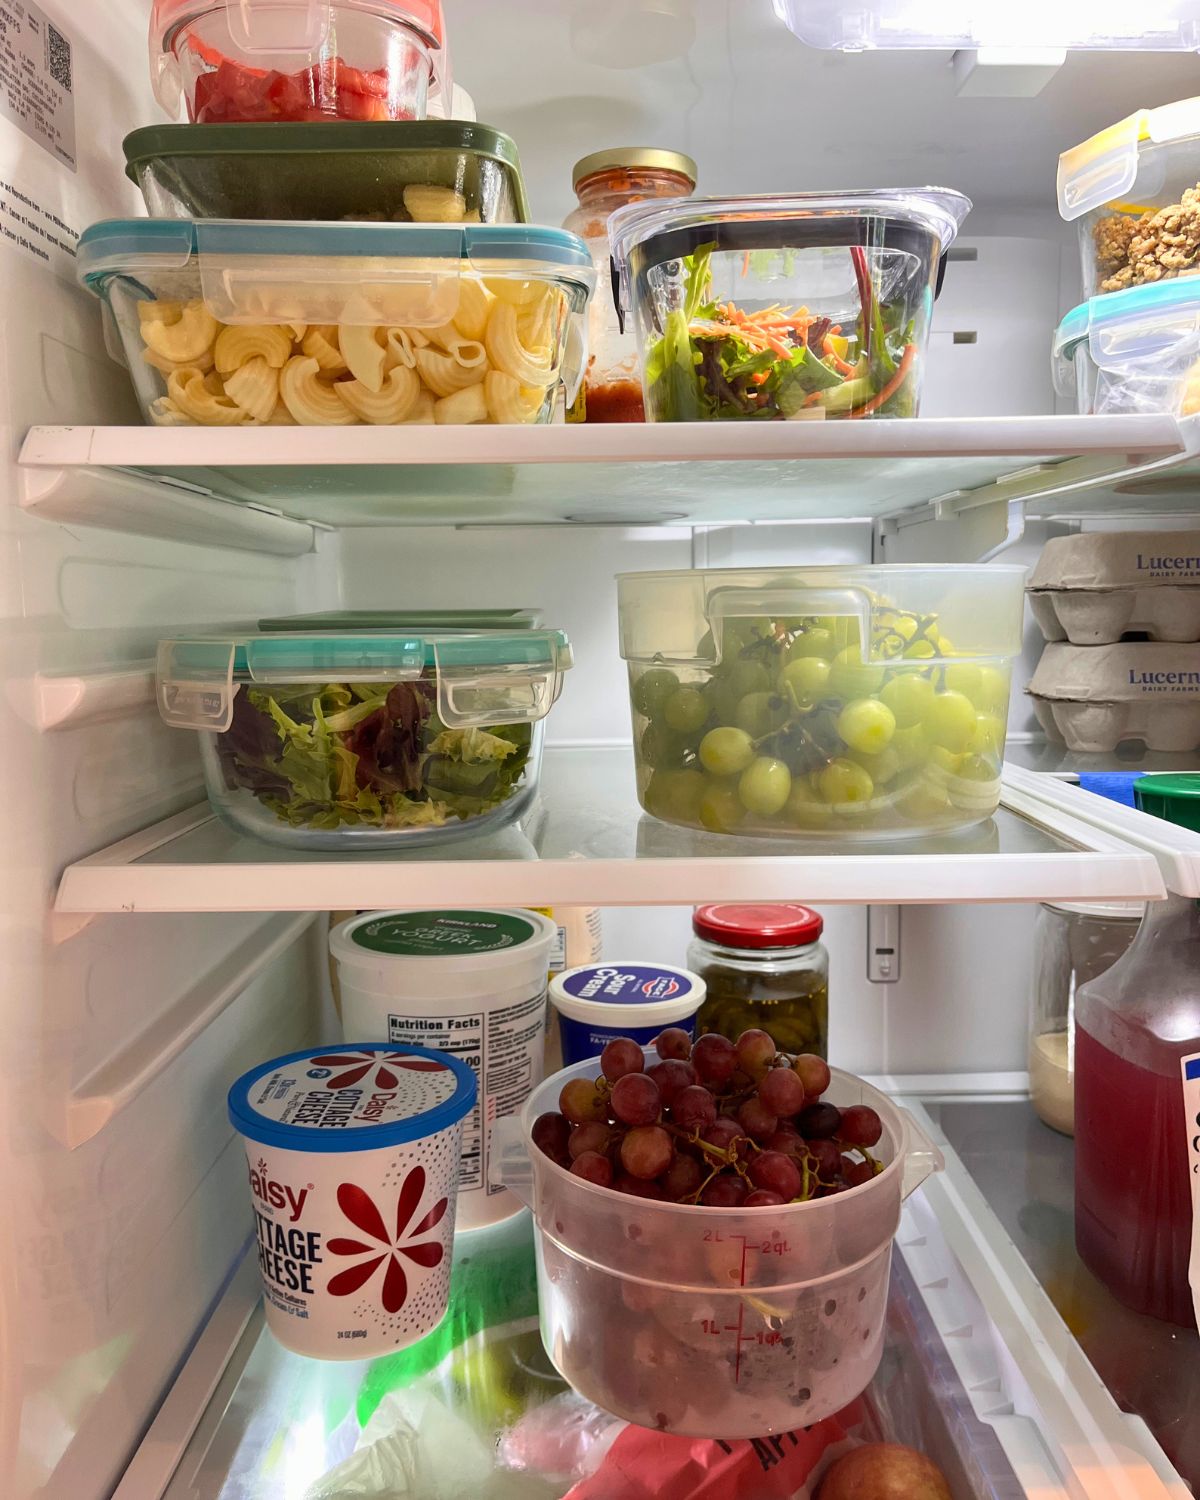
5. Wipe bottles, jars, and containers
Take a damp wash cloth and wipe down any bottles, jars and containers that you will be returning to the fridge.
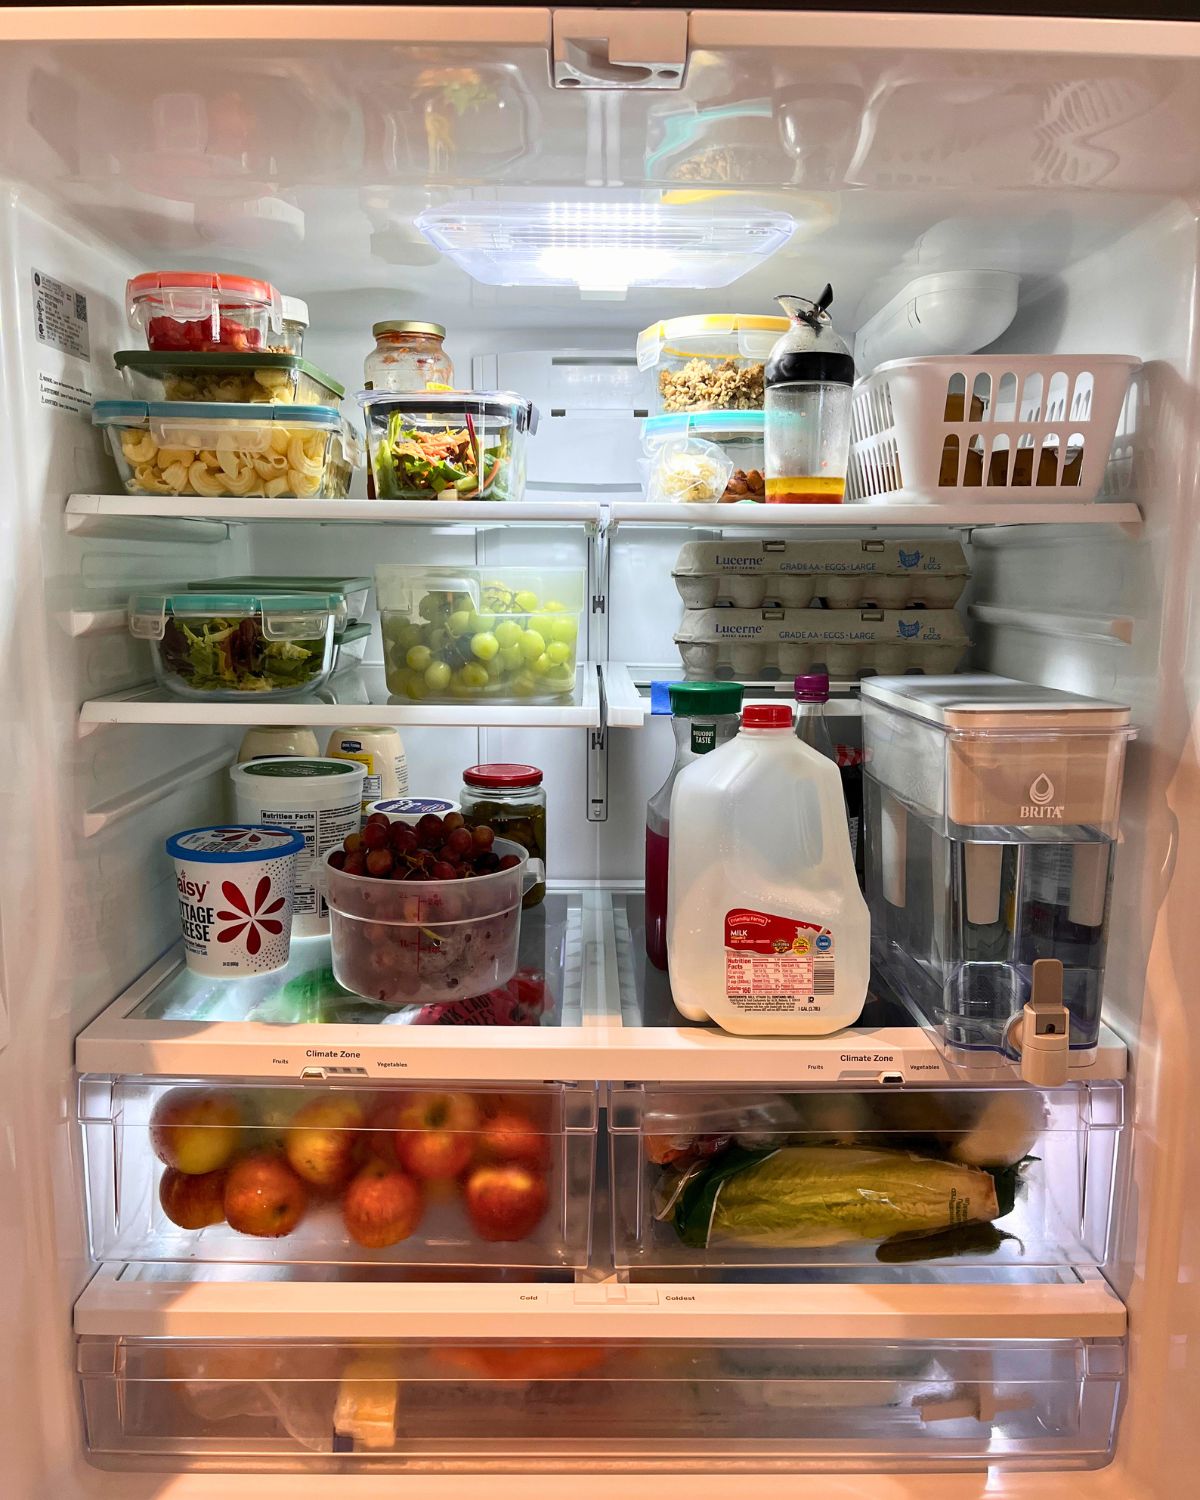
6. Organize
As you return condiments and other refrigerated items to the refrigerator, organize them in a logical way.
- Place unopened containers behind their opened counterparts, so that the oldest is used first.
- Store leftovers in clear containers on the top shelf.
- Consolidate like with like so it’s easy to find. For example, all savory condiments in one door compartment; the sweet ones in another.
Tidy the fridge every three days to save money and avoid food waste.
7. Use what you have
Now that you’ve touched everything at least twice, you have a good idea of what’s in your refrigerator, what needs to be replaced, and what needs to be used up.
Build this week’s menu plan from what’s there as it is probably the most perishable food in your house.
Here’s how I learned to make dinner with what I have.
8. Repeat monthly.
If you do steps 6 and 7 every few days and wipe up spills as they occur, you can easily only deep clean the refrigerator once a month.
More Kitchen Tips


What do you think?
I’d be honored if you chimed in the comments section. What do you think?


great ideas. I also would like to add that you clean your fridge the day before trash day, so that it’s not just sitting in your garbage can outside attracting dogs and undesired odor.
Great point. Thanks!
What I have done in the last few years is to put down hand towels on each shelf, and also towels folded in half on the door shelves. This makes is so much easier for me. About every 2 months or so I go through everything, change the towels and put down new ones, colors depending on the season or holiday! It saves a lot of scrubbing, just toss in the washer!
Also, I put wax paper on top of the fridge before I place anything up there, and every 6 months or so, I remove everything, and take off the dirty, dusty paper and just toss and replace! No dirty scrubbing on a step stool.
Nice ideas! I usually take all of my shelves and drawers out, fill a very clean bathtub with water and baking soda, let soak , scrub and air dry. (I actually do this about once a month. I am sure I’d have to do this less frequently if I used your ideas). I basically clean my refridgerator every week. Why? Because if I let it go too long, I can not deal with it, the most disgusting job to clean a really unkempt refridge i can barely tolerate it. So, i clean very frequently.That is my incentive!
Milk and dairy products should be stored withIN the refrigerator on the shelves rather than in the door —
“the door is the warmest spot in your fridge. Every time you open the door, items stored there are directly exposed to your warmer kitchen. Items in the very back of the shelves, on the other hand, stay the coolest. Milk and eggs are highly perishable and should be kept at a steady, cool temperature. The door shelves are better suited to less perishable items like ketchup, salad dressing, soda, and jams and jellies.”
I moved ours out of the door about 1 1/2 years ago and find that is keeps a little longer….
This post is a little old (5+ years!) Our milk and eggs are now on the inside, with milk on the bottom shelf, thanks to a tip from a reader. 🙂