As an Amazon Associate I earn from qualifying purchases. For more details, please see our disclosure policy.
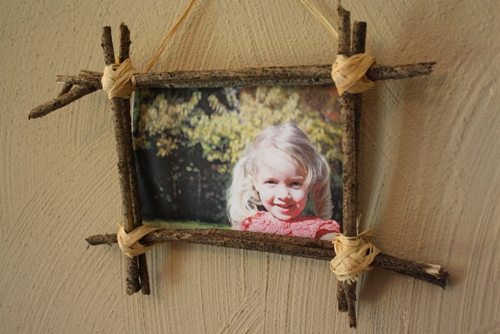
Collect specimens on your nature walks this fall to turn into a fun frame for autumn photos.
Want to save this post?
Enter your email below and get it sent straight to your inbox. Plus, I’ll send you time- and money-saving tips every week!
Now that Fall is here, the weather is cooling off, and it’s a perfect time for taking walks and enjoying the changes in nature. I can’t wait to head out for a nature walk with the girls when the leaves begin to change color. Hopefully, I won’t have to wait too long!
Whenever we go for a walk, my girls nearly always end up collecting sticks. Of course, they want to bring them home, so we’ve got quite the collection in our yard. I’ve discovered that sticks make a terrific (and FREE) art supply!
You and your kids can use sticks collected on a nature walk to make a cool frame for your Fall photos or artwork! This is a great project to work on with your kids since two sets of hands make this project a bit easier. However, if this project seems a bit too complex for your little ones, you can do the assembly on your own and then have your kids decorate the frames. Either way, it’s a fun, frugal, fall craft!
How to Make a Stick Frame:
Supplies:
photograph or artwork
paper & pen
sticks
raffia or yarn
scissors
decorating supplies such as glue, glitter, leaves, acorns, shapes cut out of paper, etc.
hot glue gun
Instructions:
Decide how large you want your frame to be and make a template. To make a frame for a 4 x 6 photograph, draw a 4 x 6 rectangle on a piece of paper. To frame your child’s artwork, use the piece of art as a template or a piece of paper that is the same size.
Break sticks to an appropriate length for the size frame that you want to make. Each stick should be longer than what you plan on framing by at least two inches. You’ll need eight sticks — two sticks for each side of your frame.
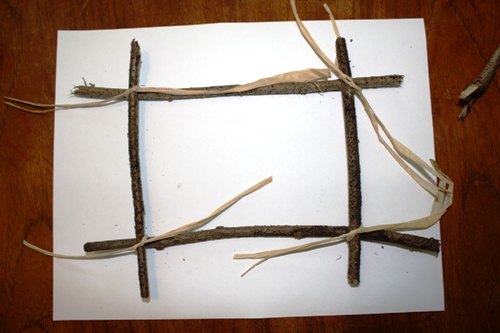
Place your frame template on a flat surface. Cut four pieces of raffia (about 6-inches long) and lay them on a diagonal at each corner of your template.
Put two sticks over the horizontal lines on your template. Then stack two sticks on top of the horizontal sticks but lying on top of the vertical lines – just like you’re building with Lincoln Logs. Tie each raffia piece to secure the basic frame. You can move the sticks a little bit to adjust their placement if needed.
Stack the remaining two horizontal sticks on top of the frame and tie in place with the raffia. Repeat with the remaining vertical sticks. Adjust the placement of the sticks if needed. Snip off the excess length of raffia.
Secure each corner of the frame by wrapping yarn or raffia around it. Tie off in the back and snip off the excess length of raffia.
Have your child to decorate the frame with glue and embellishments. Allow to dry.
Use hot glue to affix your photograph or piece of artwork to the back of the frame. To hang your frame, tie a length of raffia to both ends of the top of the frame.
–Janel is a stay-at-home mom of two daughters and a “law school wife” in Virginia. Raised in a budget-conscious and DIY-minded family, she blogs about motherhood, crafts, and living on a law school budget at Life with Lucie and Ella.
What kid-friendly craft ideas do you have for Fall?
Make a last-minute costume that will please the Avenger in everyone. You know already about our family’s deep and abiding love for the Avengers. The boys have told me that it’s their top 3 of all-time favorite movies. I have to agree. We had a blast last month watching it on Blu-ray and have watched…
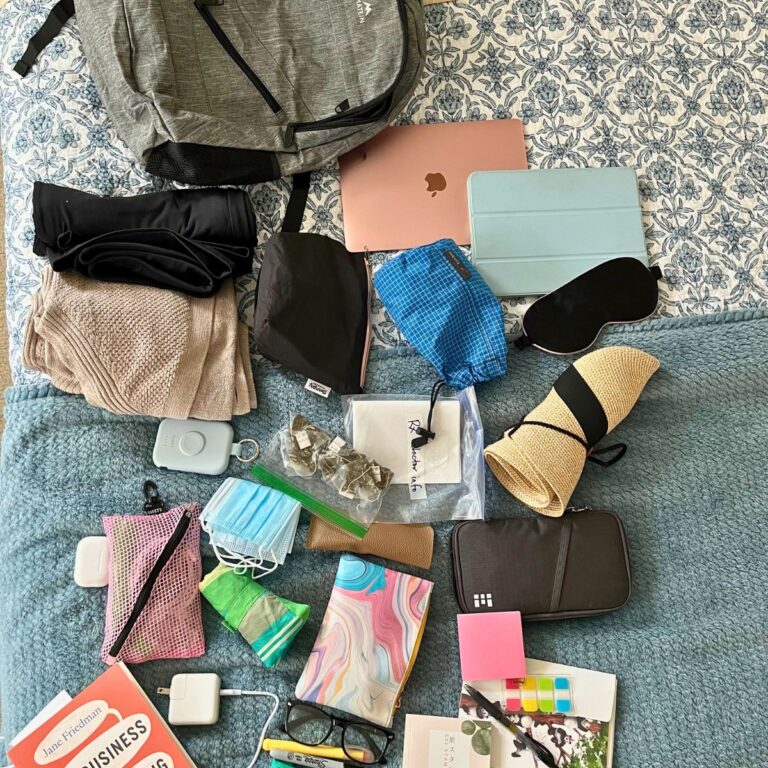
Time to tackle clutter and disorganization and maybe too much stuff. This month we are organizing our travel gear so we can hit the road with a smile. With summer and school vacations just around the corner, now is the perfect time to get a grip on travel gear and other transportation paraphernalia. Our family did quite…
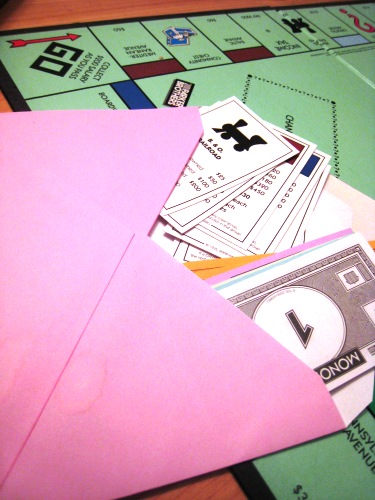
As a child I loved playing Monopoly. I somehow had no idea how many hours a full game entails. Yes, ignorance is bliss. Last Christmas we finally had enough kids old enough to play “the real Monopoly,” so that was one of our family gifts. And recently the boys and I have started playing it…
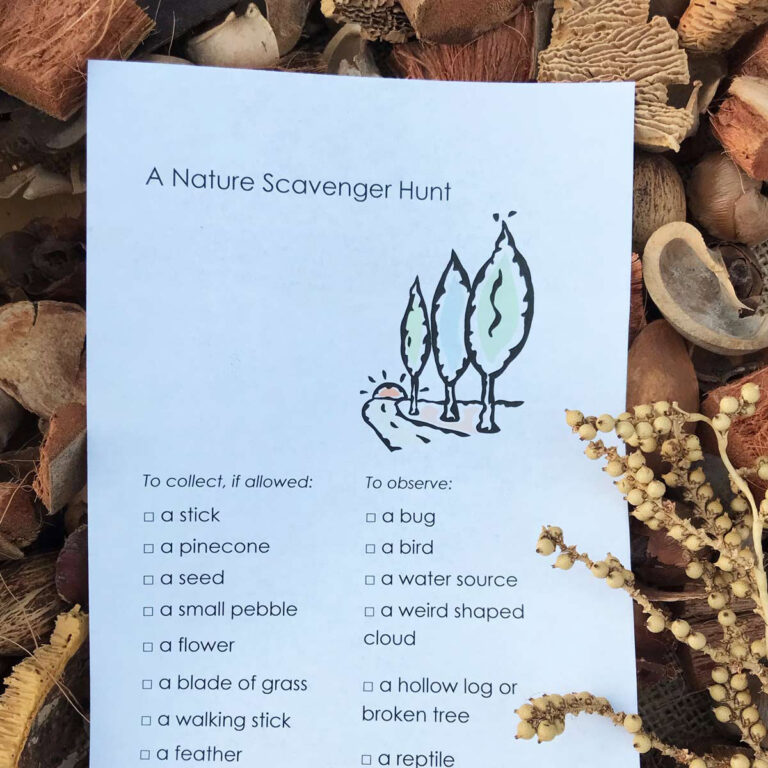
Fresh air is good for you and your kids, and a Nature Scavenger Hunt is the perfect excuse for exploring nature and spending time together as a family outside. Grab the free pdf printable for an outdoor scavenger hunt and get out! This fun nature walk activity is a great one to add to your…
Ready to hit the road? Make sure that you have these travel essentials to make your family trip safe, fun, and trouble-free. After almost 30 years of traveling with kids, I’ve learned a few things. College kids probably won’t love your music choices, yet 7-year olds still get excited about Veggie Tales — even if…
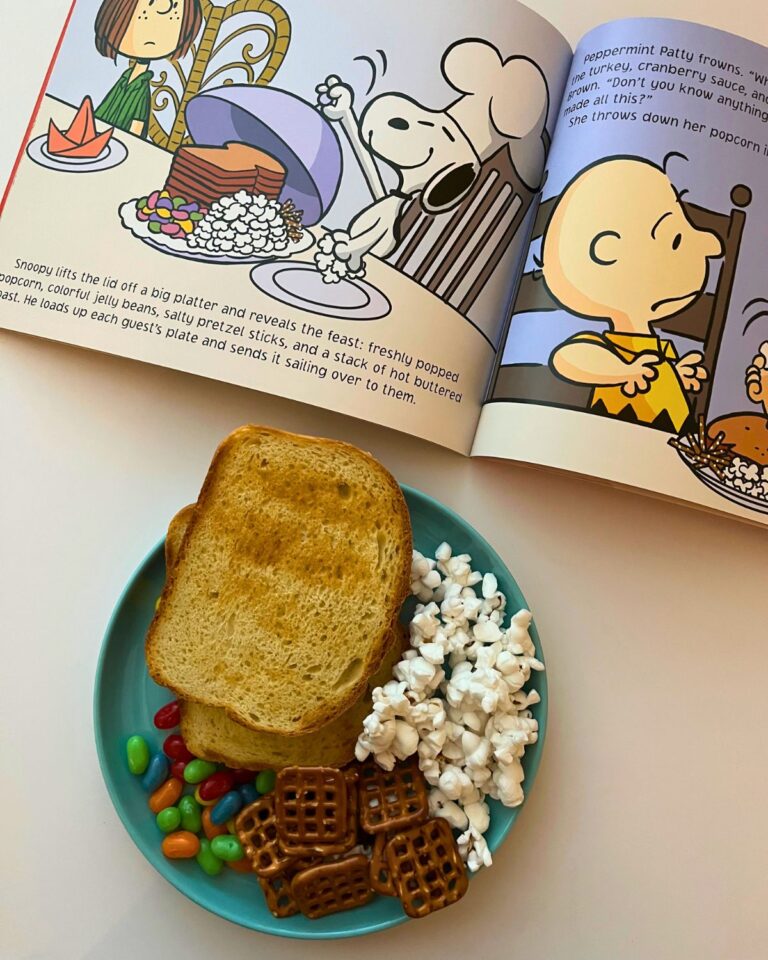
Want to surprise your kids with a really fun meal? Serve them a Charlie Brown Thanksgiving Dinner! Ready to wow your kids one night in November? Serve them a special dinner they won’t soon forget, a meal straight out of a Charlie Brown Thanksgiving! If your kids love the Charlie Brown movies, then chances are…
Thanks! My girls really loved making these…especially when they got to add glitter. If you decide to use glitter, place your frame (w/wet glue on it) in a box of some kind and then let them shake the glitter on it. It keeps the glitter contained!


Very cool idea! Sweet pic of L!!! Brilliant! I love when nature provides ‘complimentary’ craft supplies!!!!!
Oh that is a great idea! Princess Belle has been wanting to personalize and would love to make some for her room!
Thanks! My girls really loved making these…especially when they got to add glitter. If you decide to use glitter, place your frame (w/wet glue on it) in a box of some kind and then let them shake the glitter on it. It keeps the glitter contained!