Ghost Treat Bags for Halloween
As an Amazon Associate I earn from qualifying purchases. For more details, please see our disclosure policy.
Let the neighborhood kids catch some ghosts with these easy and fun treat bags for Halloween. They’ll show you who ain’t afraid o’ no ghosts!
Want to save this post?
Enter your email below and get it sent straight to your inbox. Plus, I’ll send you time- and money-saving tips every week!
Are you looking for a fun way to distribute treats at Halloween? One that you don’t have to babysit, but gives kids the thrill of adventure?
Then you’re going to want to prep these Ghost Treat Bags for Halloween. Perfect for classroom parties as well as trick-or-treating in the neighborhood, these Halloween candy bags are simple and quick to put together.
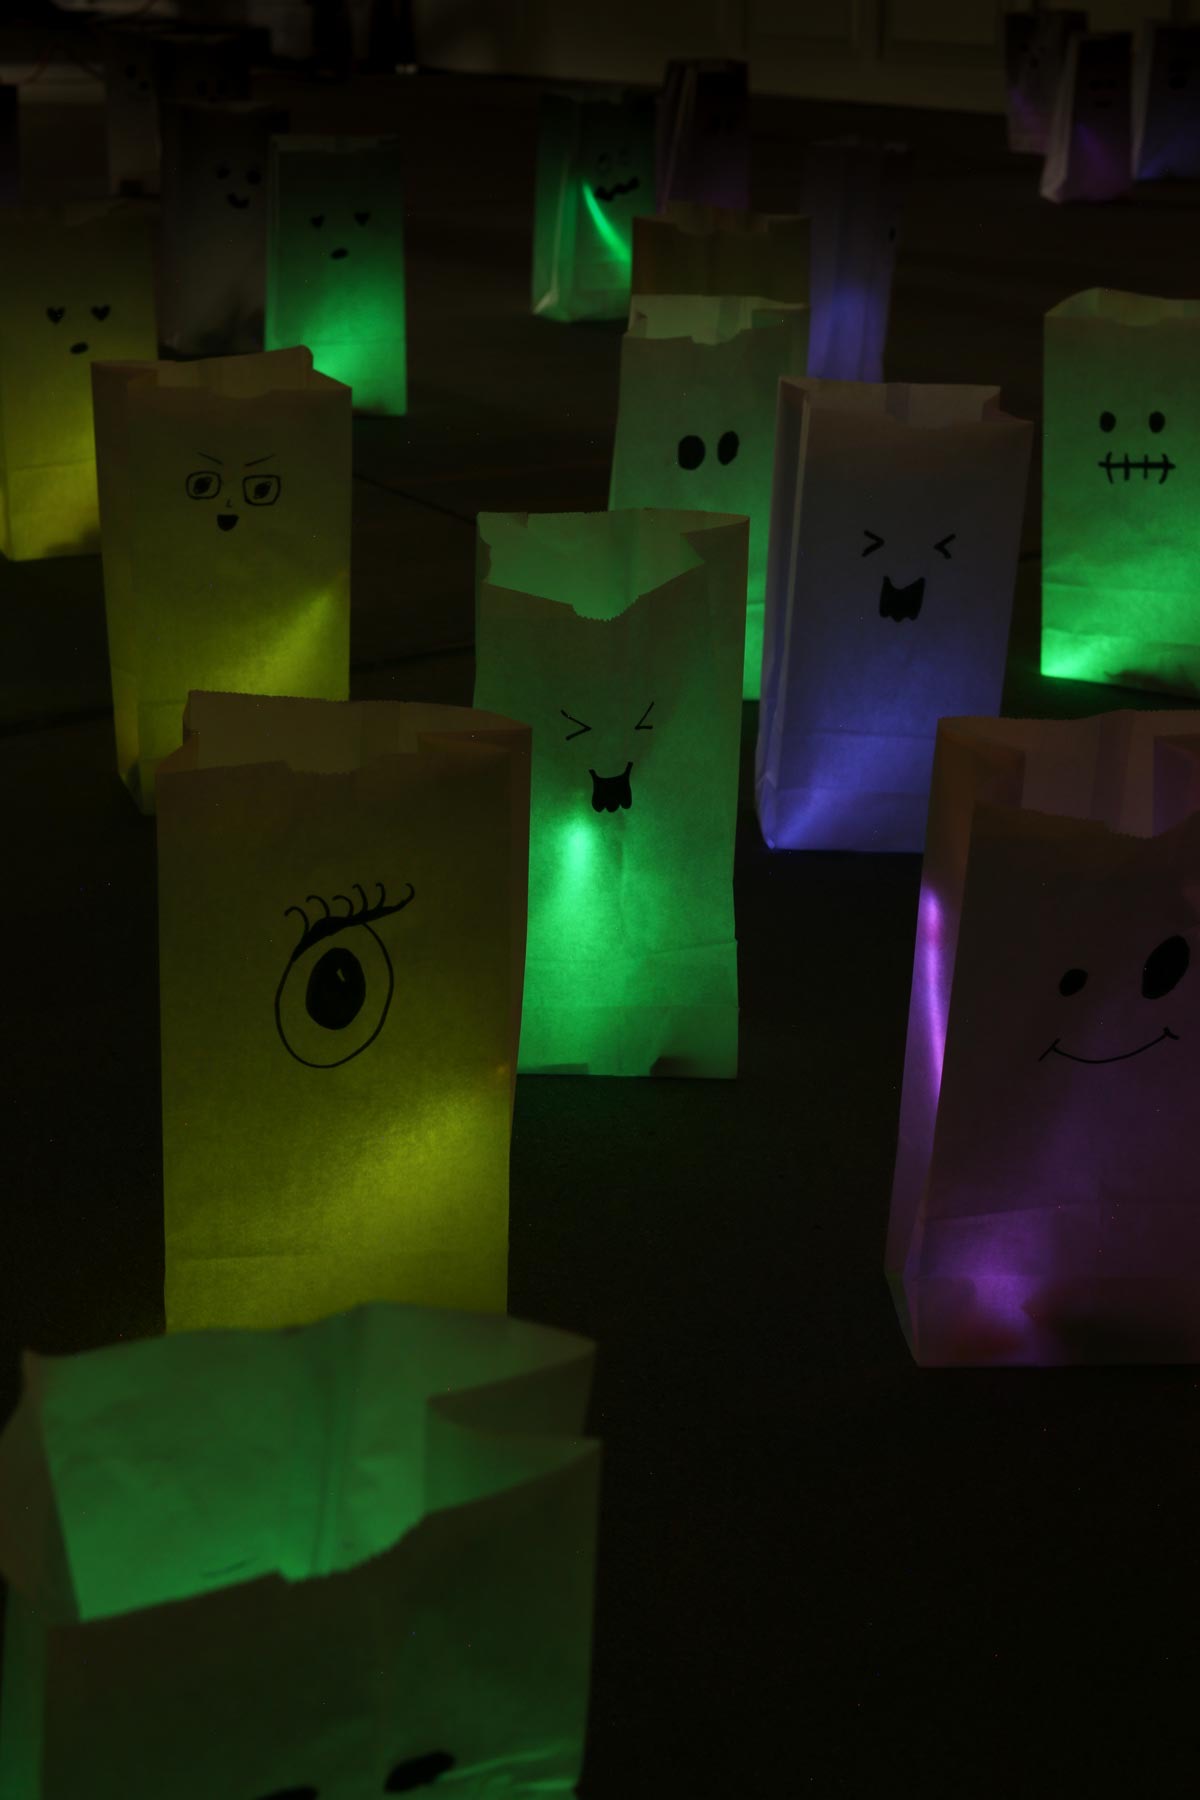
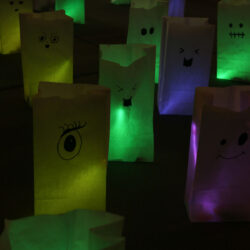
Decorate white paper lunch sacks with ghost faces and fill them with treats and light sticks for a fun alternative to a bowl of candy on Halloween night. These treat bags for Halloween are great for trick or treaters, but super fun for a Halloween Movie Night as well.
Why Do This
It’s fun! Who doesn’t want to be a Ghostbuster? And with a legit sequel to the classic movie, there is plenty of ghostbusting to do. This is a great activity to add to your Fall Bucket List activities.
It’s hands-free. Whether you’re still a little germaphobic post-pandemic or just don’t want to answer the door every five minutes, these Halloween treat bags are just the thing! Set up your ghosts, hang a sign, and let the neighborhood kids do their thing.
It’s perfect for a Halloween party! These Halloween goodie bags are almost a treat in themselves since kids love things that glow in the dark. These make for the funnest fall activities for kids.
Supplies
Here’s what you’ll need for Ghost Treat Bags for Halloween:
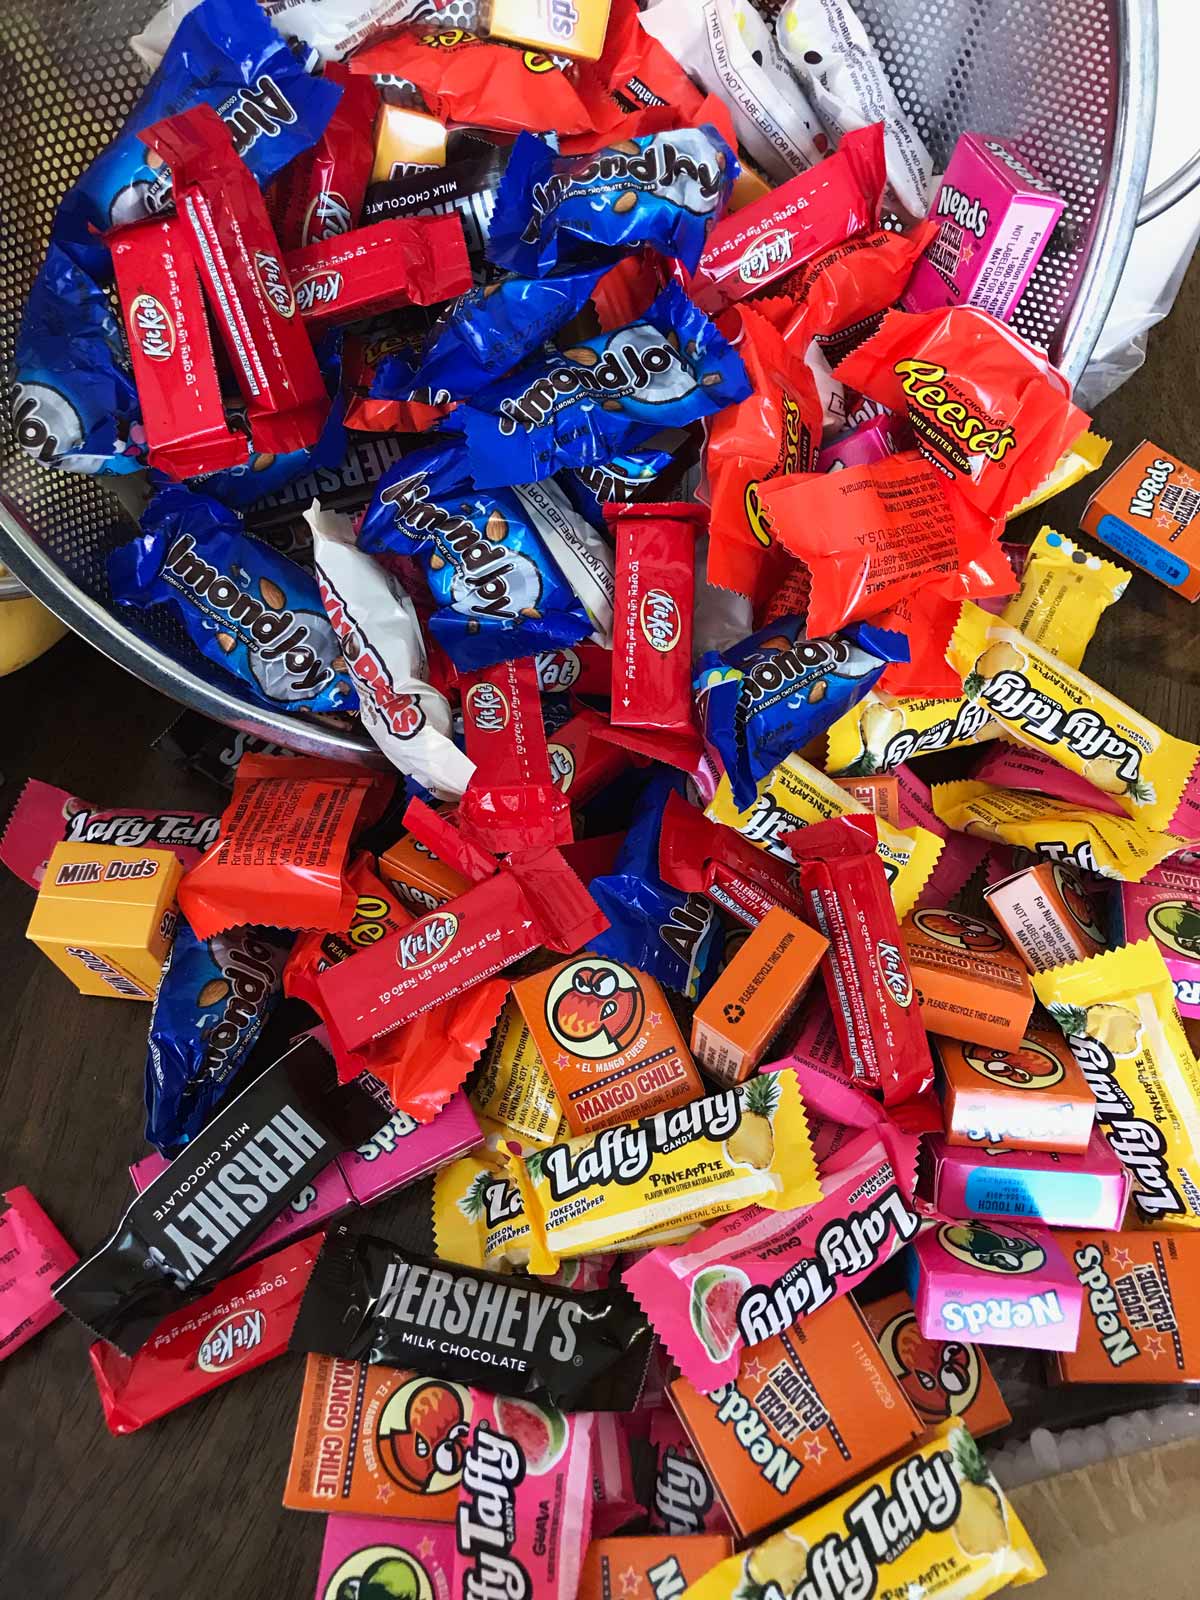
Halloween Treats – Treat bags for Halloween need treats! You’re likely going to purchase Halloween candy or some other treat for Trick or Treaters no matter what you do. (I’m a sucker for Doritos, but you can include chocolates, candy corn, party favors, gum, and chocolate pumpkins.) Here’s a fun delivery system for those Halloween goodie items.
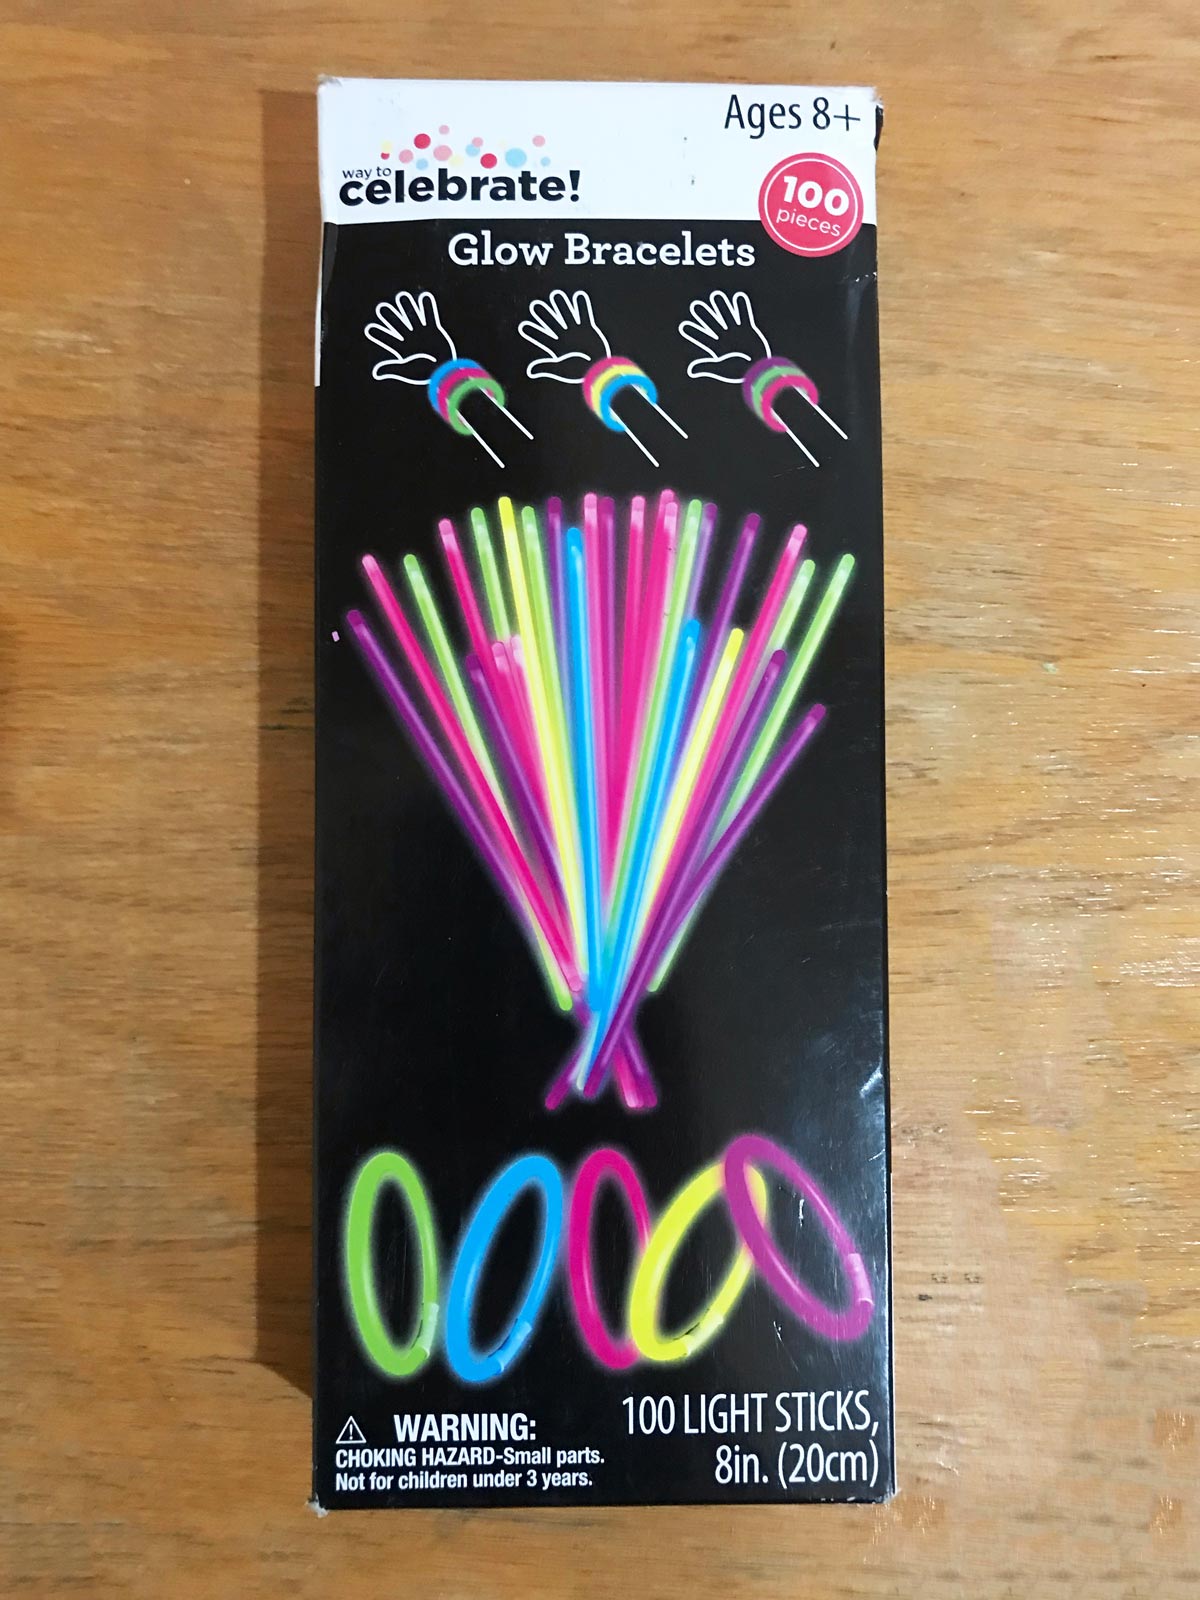
Glow Sticks – Post-Halloween is the best time to buy these, but they’re generally available year-round. Check for sales and make sure you buy enough to give each kid TWO glow sticks, one that you’ll light on Halloween night and one that each kid can activate on his or her own at a later date. I bought these glow sticks this year.
White Paper Lunch Sacks – A package of 50 lunch sacks will run about $2 at Walmart. You can find smaller gift bags, but they generally cost more than your standard lunch sack size.
Sharpie Marker – You’ll want to draw faces on the paper sacks, so having some good quality black markers is necessary.
A Large Sign – If you won’t be sitting in the front yard to instruct trick-or-treaters how to catch their ghost Treat bags for Halloween, prep a sign with instructions. Grab a piece of poster board to make it easy.
Variations
You can take this in lots of different directions.
- Use colored bags for witches, monsters, aliens, what-have-you.
- I can even see this fitting into Christmas celebrations and catching elves out and about in the neighborhood.
- This same concept can apply to treats you leave at friends’ doorsteps for any of the fall and winter holidays. Do you boo your neighbors?
Step-by-Step Instructions
Here’s how to assemble and set up these Ghost Treat Bags for Halloween:
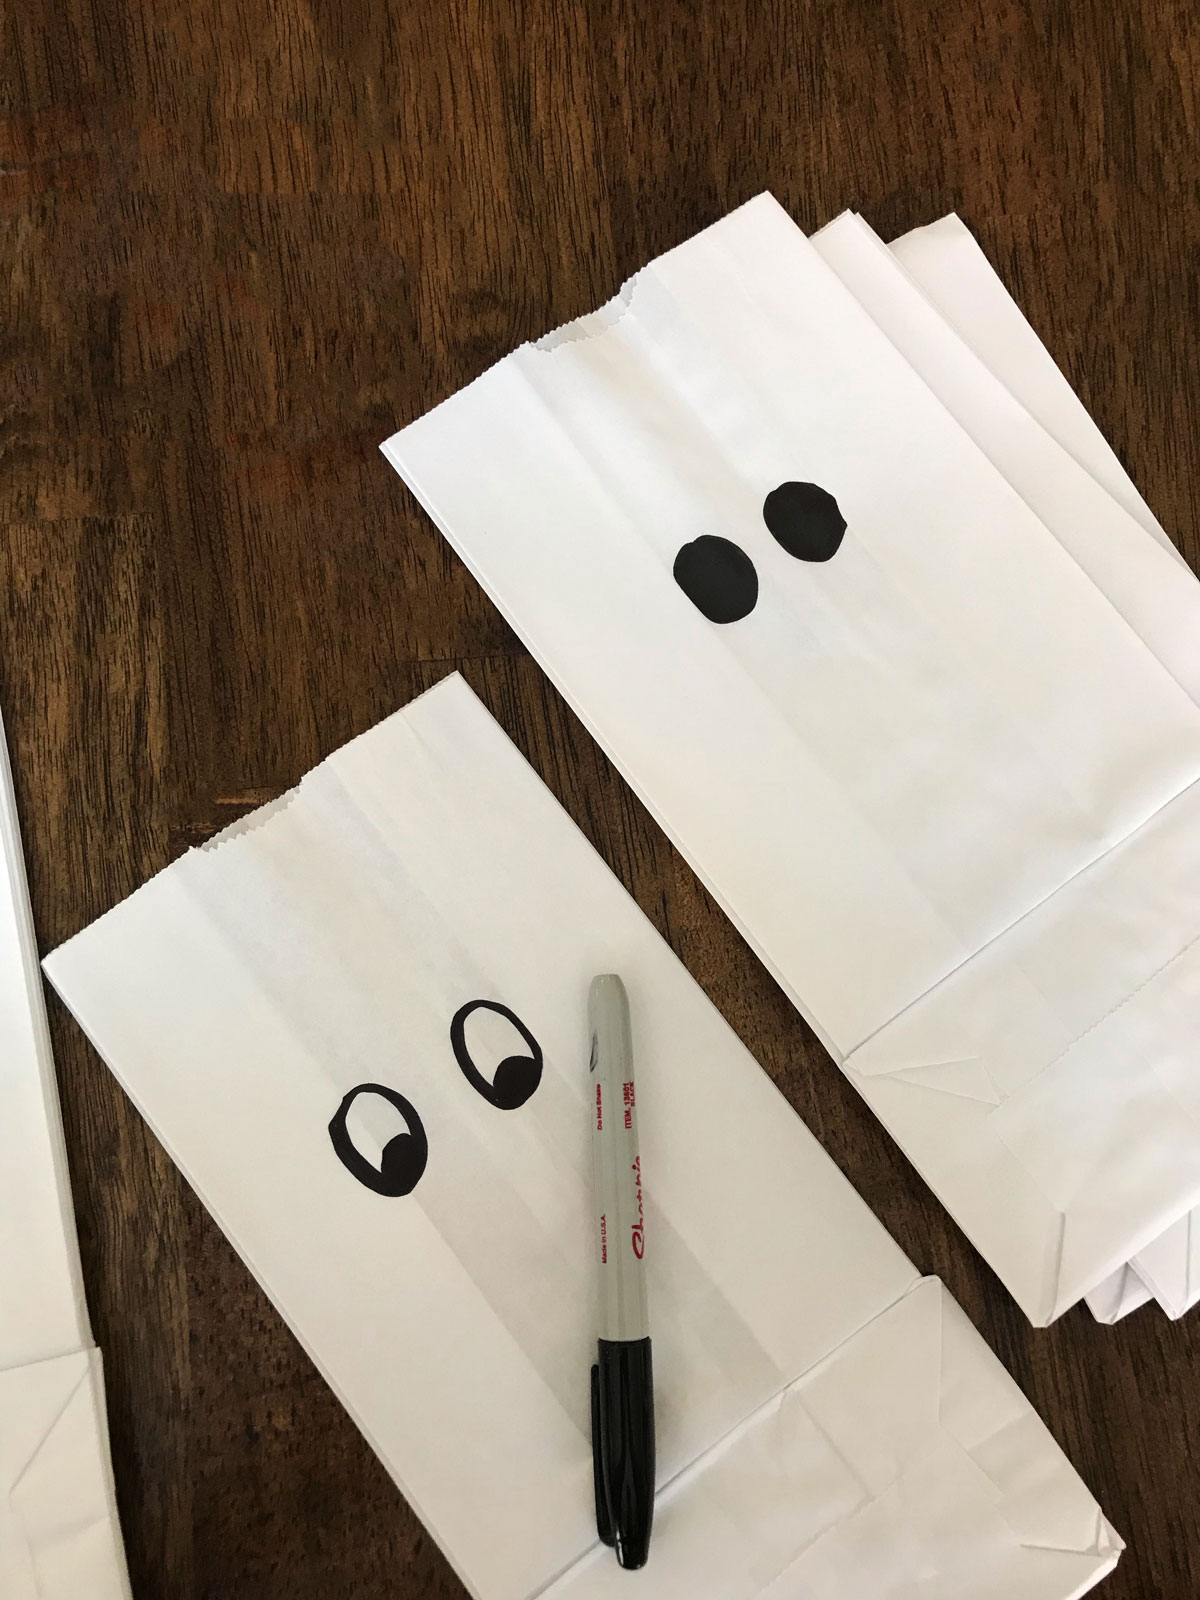
- Draw eyes on each of the lunch bags. You can draw these freehand or use a stencil. I did a quick google search for “ghost eyes” to give me some ideas of different eyes to draw. Changing the style of the eyes lets kids have more choice.
- Fill the bags with treats. Traditional treats are candy, but you can also include stickers, small toys, and spare change. I added one light stick to each ahead of time.
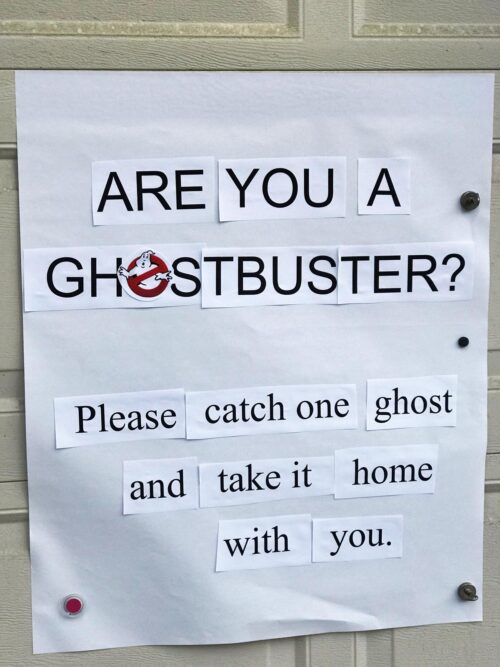
- Hang a sign if you won’t be around to give instructions. Our sign said, “Are you a Ghostbuster? Please catch one ghost and take it home with you.” We hung it on the garage door with a spotlight overhead. If I was around when families came, I explained that there were too many ghosts at my house. Kids and parents were thrilled to take these kinds of ghosts home with them.
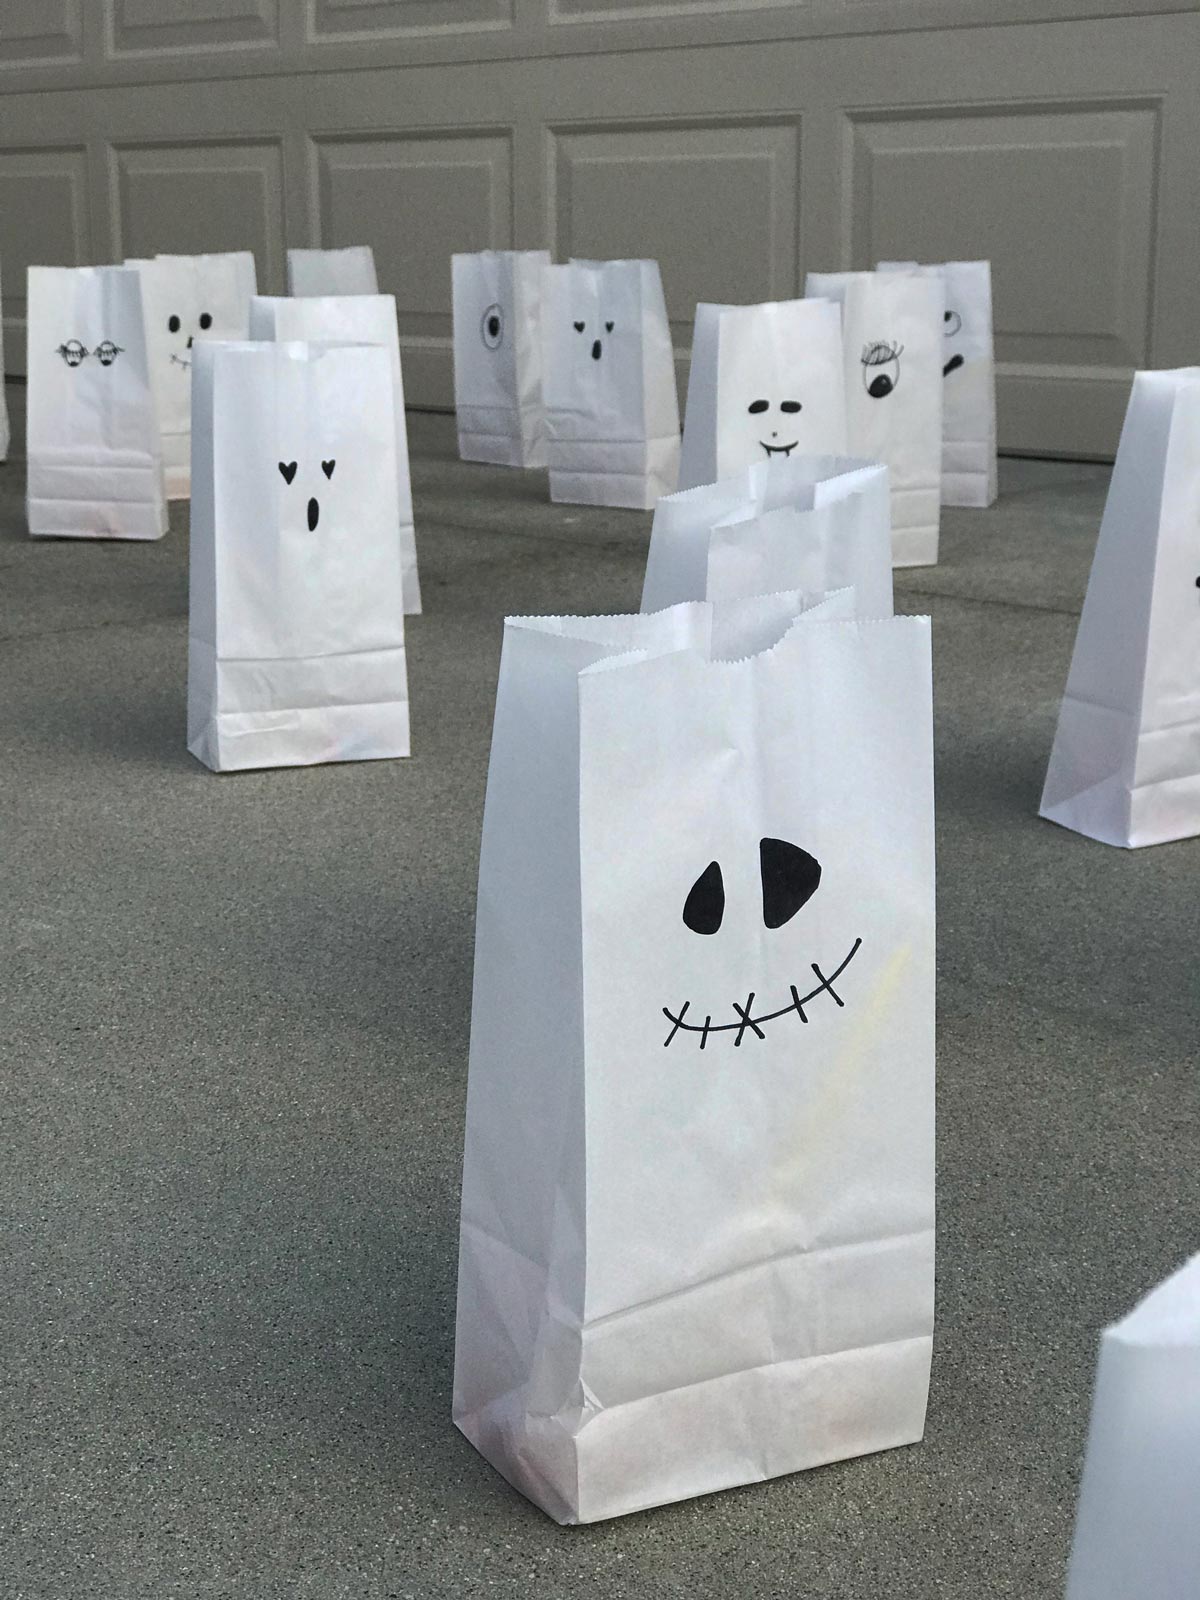
- Lay out the bags in an array. If you can, don’t lay out the bags in straight lines. Instead, stagger the lines so that your trick-or-treaters can see the different faces. Leave space between the bags so kids can walk between them and choose. This is really important. Kids love to choose!
- Add a lit glow stick to each bag. This is what will make your ghosts glow in the dark.
- Sit back and enjoy a stress-free Halloween night! Seriously, this was the crockpot of Halloweens. I could set it and forget it OR open the door and say hi to visiting families. Parents were thrilled with the ease and safety involved and it was so much fun to give treat bags for Halloween.
Got leftover Halloween candy? I’ve rounded up 20+ uses for leftover Halloween candy.
More Fun Fall Activities

Tell us what you think?
We want to know what you think about this project. Leave a starred comment below to share your thoughts. Thanks for sharing this with your friends and family!
Ghost Halloween Treat Bags
Equipment
- sharpie marker
Supplies
- 100 glowsticks
- 200 Halloween treats can be candy, stickers, toys
- 50 white paper lunch sacks
- 1 sharpie marker black
- 1 large sign
Instructions
- Draw eyes on each of the lunch bags. You can draw these freehand or use a stencil. I did a quick google search for “ghost eyes” to give me some ideas of different eyes to draw.
- Fill the bags with treats. Traditional treats are candy, but you can also include stickers, small toys, and spare change. I added one light stick to each ahead of time.
- Hang a sign if you won’t be around to give instructions. Our sign said, “Are you a Ghostbuster? Please catch one ghost and take it home with you.” We hung it on the garage door with a spotlight overhead. If I was around when families came, I explained that there were too many ghosts at my house. Kids and parents were thrilled to take these kinds of ghosts home with them.
- Lay out the bags in an array. If you can, don’t lay out the bags in straight lines. Instead, stagger the lines so that your trick-or-treaters can see the different faces. Leave space between the bags so kids can walk between them and choose. This is really important. Kids love to choose!
- Add a lit glow stick to each bag. This is what will make your ghosts glow in the dark.
- Sit back and enjoy a stress-free Halloween night! Seriously, this was the crockpot of Halloweens. I could set it and forget it OR open the door and say hi to visiting families. Parents were thrilled with the ease and safety involved and it was so much fun!
Notes
- Use colored bags for witches, monsters, aliens, what-have-you.
- I can even see this fitting into Christmas celebrations and catching elves out and about in the neighborhood.
- This same concept can apply to treat you leave at friends’ doorsteps for any of the fall and winter holidays.

This post was originally published on October 31, 2021. It has been updated for content and clarity.