
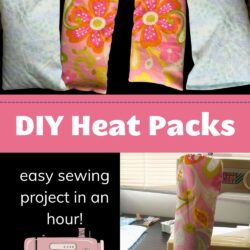
How to Make Microwave Heat Bags for Pain Relief
As an Amazon Associate I earn from qualifying purchases. For more details, please see our disclosure policy.
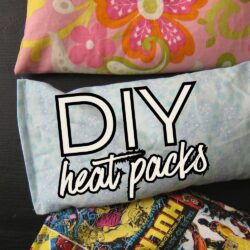

Sore muscles, menstrual cramps, postpartum pain, or just a child’s booboo — there are lots of reasons you might want to keep microwavable heating pads on hand. Making your own microwave heat bags is a great way to bring gentle heat or cooling relief to any ache or pain.
This project is a super simple way to give affordable and practical presents as well.

Want to save this post?
Enter your email below and get it sent straight to your inbox. Plus, I’ll send you time- and money-saving tips every week!
Years ago, in Kansas City, mind you, a friend gave us a cloth pillow filled with dry feed corn. I thought it was crazy. And then she said, “You know a friend gave me one and I thought she was crazy. But, it’s really amazing how nice it is in the winter.”
How right she was! We had one “corn bag” or microwaveable heat pack to share among the seven of us that first winter. The kids would take turns heating it in the microwave and then slip it under the covers to warm up their beds.
Once they fell asleep, we parents would snatch the corn bag to heat up our own bed. Oh, yes, yes, we did.
In summer time, the boys would store it in the freezer to cool off with! Clever fellows.
Corn Bags Make a Great Gift!
That was the year of our Great Awakening, when we started to pay off all our debts. We had no money to buy gifts, and the only thing the boys wanted on their list were corn bags of their own. They were so sweet about it. They knew we had NO MONEY to buy gifts, so their requests were humble and modest.
Indeed, these are some of the best frugal gifts I’ve ever given.
Microwave Heat Bags are a great gift you can make yourself. They are perfect for Secret Santa gift exchanges since everyone needs a little cool or warm relief from time to time.

Determined to give them something fun — and super thankful that the grandparents were picking up our slack — I bought colorful fabric in the patterns that I knew would please them (Kansas City Chiefs, dinosaurs, Thomas the Tank Engine, and rainforest lizards). After they went to bed, I sewed up a storm, even making little hand size packs to put in their pockets.
It was a great Christmas, and the boys were thrilled with their gifts.
Since then “corn bags” — even though the current ones are filled with rice — have been a staple in our home for soothing muscle spasms and bring comfort on cold days.
This is an easy, fun gift to make for your kids or for yourself! You just need to be able to sew three straight lines. That’s it!
Uses for Microwave Heat Bags
Though my current microwave heat packs contain rice, my kids still refer to them as “corn bags” and have used them since they were very young. They’ve used them for:
- warm heat pain relief of shoulder pain, neck pain, muscle pain – If you have a chronic pain, these are really nice to have on hand for natural pain relief, a great gift for new moms!
- warming up in cold weather – I’ve made small bags to warm cold hands in winter and we regularly use them to warm cold beds before bedtime.
- cold pad or cool therapy – store them in the freezer so they’re ready when you need an ice pack, they can comfort kids after orthodontia work as well as other bumps and bruises.
- relaxation – either hot or cold, the weight of the filling along with added lavender or essential oils can turn a simple reusable heating pad into a wondrous relaxation gift, perfect to tuck into a Spa Gift Basket.
Variations
While our microwaveable heat bags are about the size of an icepack, remember you can make them in different sizes and shapes:
- pocket-size microwave heat pads are great for kid-size booboos and for tucking into pockets as hand warmers.
- sinus eye pillows (about 2 by 7 inches) – These are great for soothing puffy eyes. Keep the cold eye packs in the fridge or freezer for easy use.
- extra long neck wraps – cut your microwavable heat bags long and thin enough to wrap around the neck and shoulders
Supplies Needed
In addition to a sewing machine, you’ll need:
- cotton fabric – Use breathable cotton fabrics in fun colors and patterns. This allows you to make each kid his own heating pad which is super special.
- cotton thread
- uncooked rice, whole corn (dried as what is used in animal feed), cherry pits, or flax seed to fill (Do NOT use Minute Rice)
- scissors and pinking shears
- optional: dried lavender flower – These will add a bit of relaxing scent, but you can also add a few drops of essential oils to the bag prior to use. (Just don’t use it near the eyes if you do.)
Step-by-Step Instructions
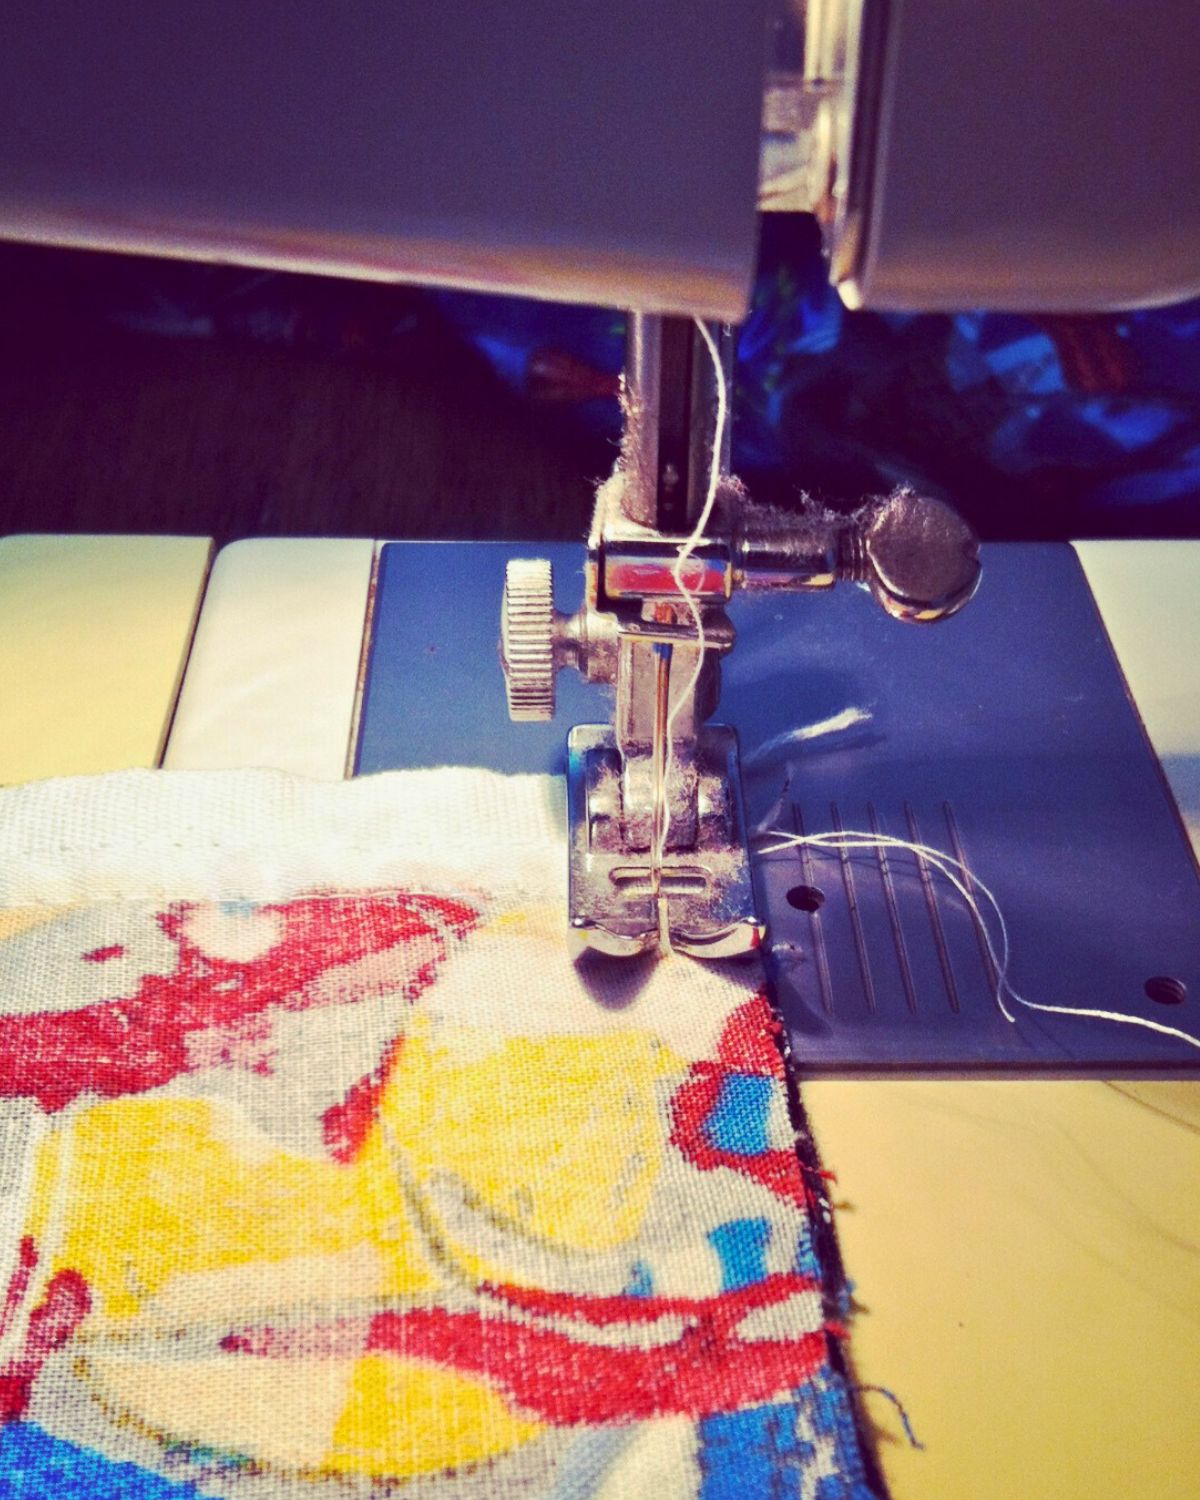
- Cut a rectangle twice the size of your desired heat pack. Mine were 10 x 11 inches. Pink the edges.
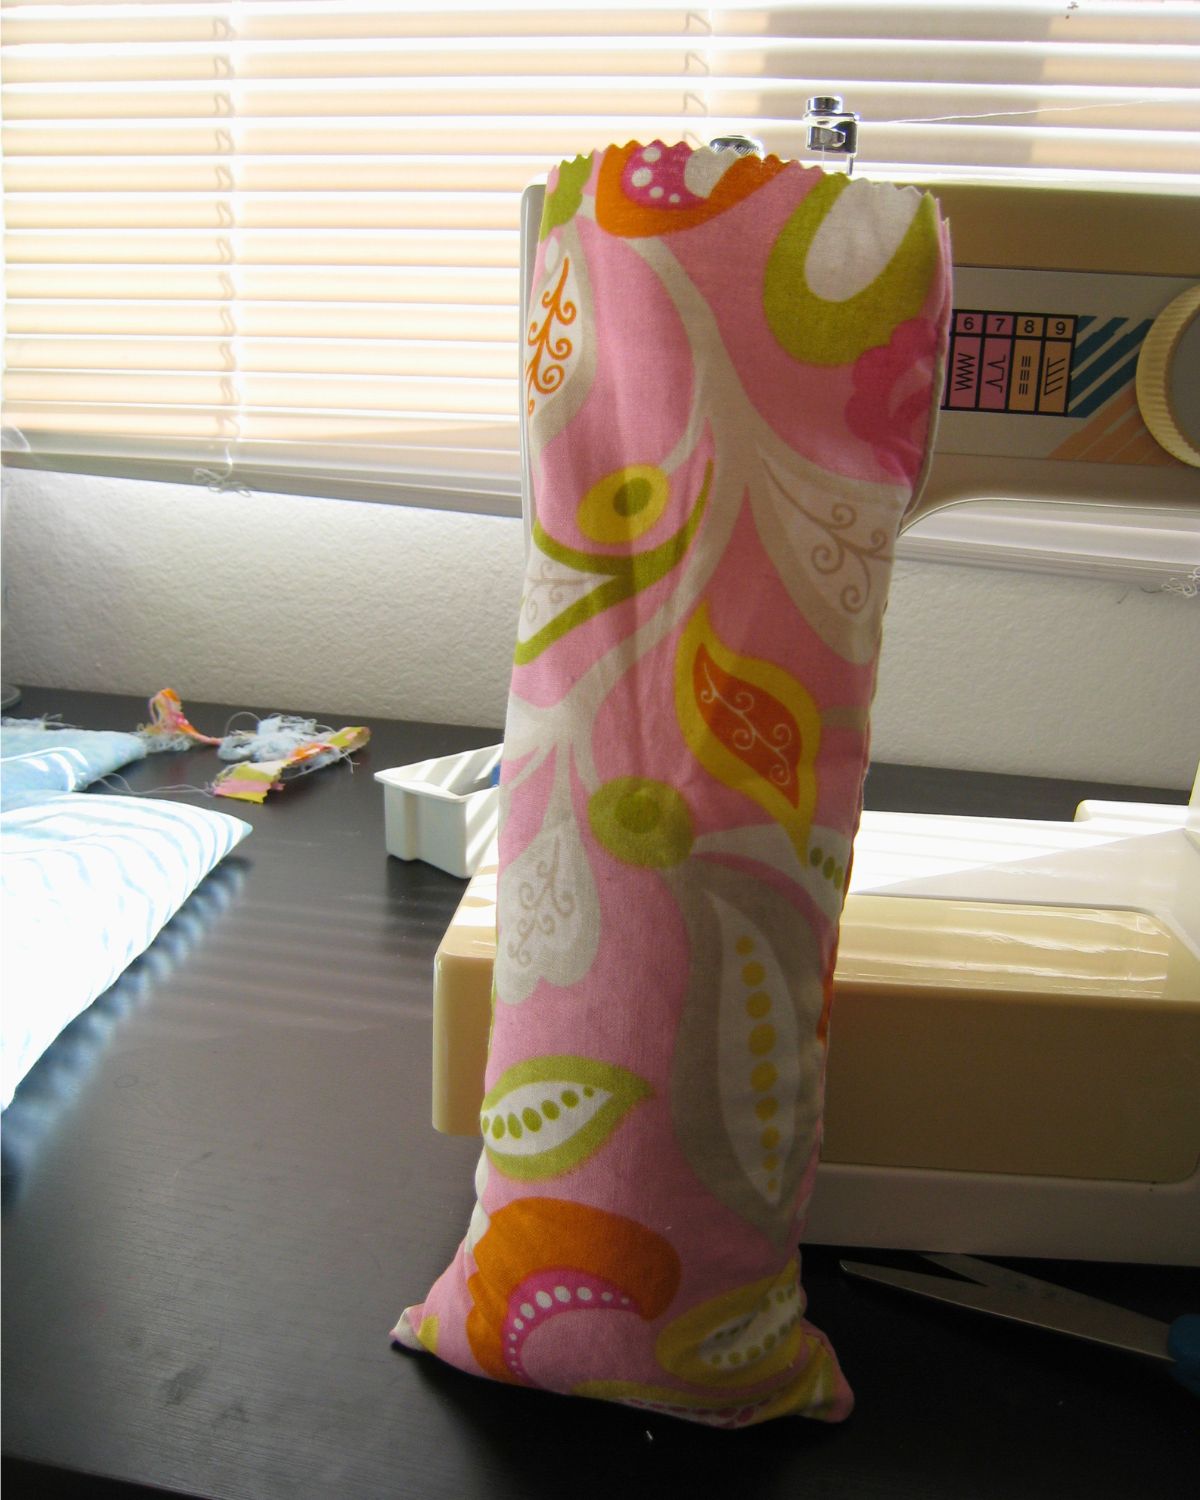
- With right sides together, fold the fabric in half, forming a thin rectangle. Sew two sides together. Reinforce with an extra seam. Turn the case right side out. It should look like a skinny pillow case.
- Fill the bag with with rice, leaving two to three inches empty at the top. Fold the top inside itself, and sew shut. Sew that seam again to reinforce it.
Tip for success: In my experience, it’s good to heat and cool each rice bag and allow it to dry completely prior to gifting. Initial heating can release a little bit of moisture in the bags.
To use: Just heat the bag for a minute or two in the microwave and use to warm cold beds or sore tummies. It is recommended to place a mug of water in the microwave alongside the heat packs in order to avoid scorching. Store in the freezer to use as a cold pack.
Remember that if you give these as a gift, it’s best to include an instruction card. When my friend Krista gave me one years ago I didn’t know what it was!
Safety Tips
As always, please use common sense and safety precautions. I am not responsible for fires in your microwave. I am merely sharing our experience and what has worked for us.
- Heat a mug of water in the microwave alongside the bag to prevent scorching.
I could not find specific instructions for bags with the fillings I’ve used. However, I did find these safety reads for bags filled with wheat. I’m not sure how that filling differs from these fillings. Just FYI.
- Safety Guidelines for Wheat Bags from New South Wales
- Safety Guidelines for Wheat Bags from Cheshire, UK
P.S. There is a good round of Q&A in the comments section.
What works for you?
Leave a comment below and let us know what works for you.

Microwave Heat Bags
Equipment
- sewing machine
- scissors
- pinking shears
Supplies
- 1 piece cotton fabric , double the size you want the finished piece and add 1 inch.
- cotton thread
- uncooked rice do not use minute rice. can also use feed corn, flax seed, or cherry pits
Instructions
- Cut a rectangle twice the size of your desired heat pack. Mine were 10 x 11 inches. Pink the edges.
- With right sides together, fold the fabric in half, forming a thin rectangle. Sew two sides together. Reinforce with an extra seam. Turn the case right side out. It should look like a skinny pillow case.
- Fill the bag with with rice, leaving two to three inches empty at the top. Fold the top inside itself, and sew shut. Sew that seam again to reinforce it.
Notes
This post was originally published on February 12, 2013. It has been updated for content and clarity.


In the south, if you use corn, you will end up with corn weavel bugs that will eat the corn. Then you have corn meal.
Yuck. Flax seed is much better, with lavender buds.
Good to know! Thanks for the tip.
These made life in Minnesota survivable when we lived there! I’d heat one up to hold in my lap in the car on cold mornings to keep from freezing before the car warmed up.
My cousins in Minnesota and Wisconsin have been sewing these up in huge batches. It’s the only way to survive, I think! Laura and Mary put hot potatoes in their pockets, we use rice bags. lol!
But I love these hot packs. Making more this week end!
Don’t overheat or you will have a fire!! I thought I put mine in the microwave for 2 minutes, hit 20 minutes by accident. Luckily I was in the kitchen and looked at the microwave
around 4 minutes. It was smoking and stunk to high heavens… removed it with a tong directly to outside – 10 degrees that day. burnt the cotton fabric and what every was inside. It took 3 weeks of cleaning to get rid of the smell.
Is it possible to use Jean matireal for the bags. I have tons left from making my quilt.
I would think so since it’s cotton.
Please let everyone know to put a mug 1//2-3/4 full of water in the microwave with the packs when heating. It prevents them from scorching. My dad who is a fire marshal is adamant about us doing this. We’ve always done and never had problems. Just want everyone safe. 🙂
That is the first I’ve ever heard this. Thanks for the tip.
Water absorbs more heat than dry rice so helps keep the microwave from overheating itself, is what I’ve heard. When we made rice socks in MOPS once the instructions they sent home said to heat with a mug of water in there.
Good to know! Thanks.
Definitely! I’ve had a bought bag catch fire in the microwave because I forgot all about adding water 🙁 it was my son’s microwave, and I ended up buying him another,
I’ve seen posts about filling knee high stocking with rice before sewing in cotto . Anyone heard of this?
I am not sure about that. It would depend on the type of fabric and if it can be microwaved.
I’m excited to do this! Can I use frabric glue?
I would not recommend that since I don’t know how fabric glue responds to heat. Sewing is a better option.
Thanks for shaing this gift idea with us. I’m wondering about how much rice you used per bag? Thanks for your help!
It will depend on the size of the bag. I fill it about 2/3 full.
I just made 30 of these as teacher gifts for this Christmas but 2 so far have sprung a leak. I wanted to try them out before gifting them and after 3-5 times in the microwave the seams started coming apart. I used flannel fabric. Is it possible the heat from the microwave is melting the fabric or the thread? I don’t want all that work to go to waste (not to mention the fabric and rice) but I also don’t want a gift that will break after a couple of uses.
Oh no! I have not made them with flannel, but my cousin sent me some that she made from flannel and they were fine. Did you sew double seams and backstitch?
Did you use nylon or poly thread? You may need to use cotton. And make sure you double stitch and backstitch because the Weight of the filler will push through the seam.